
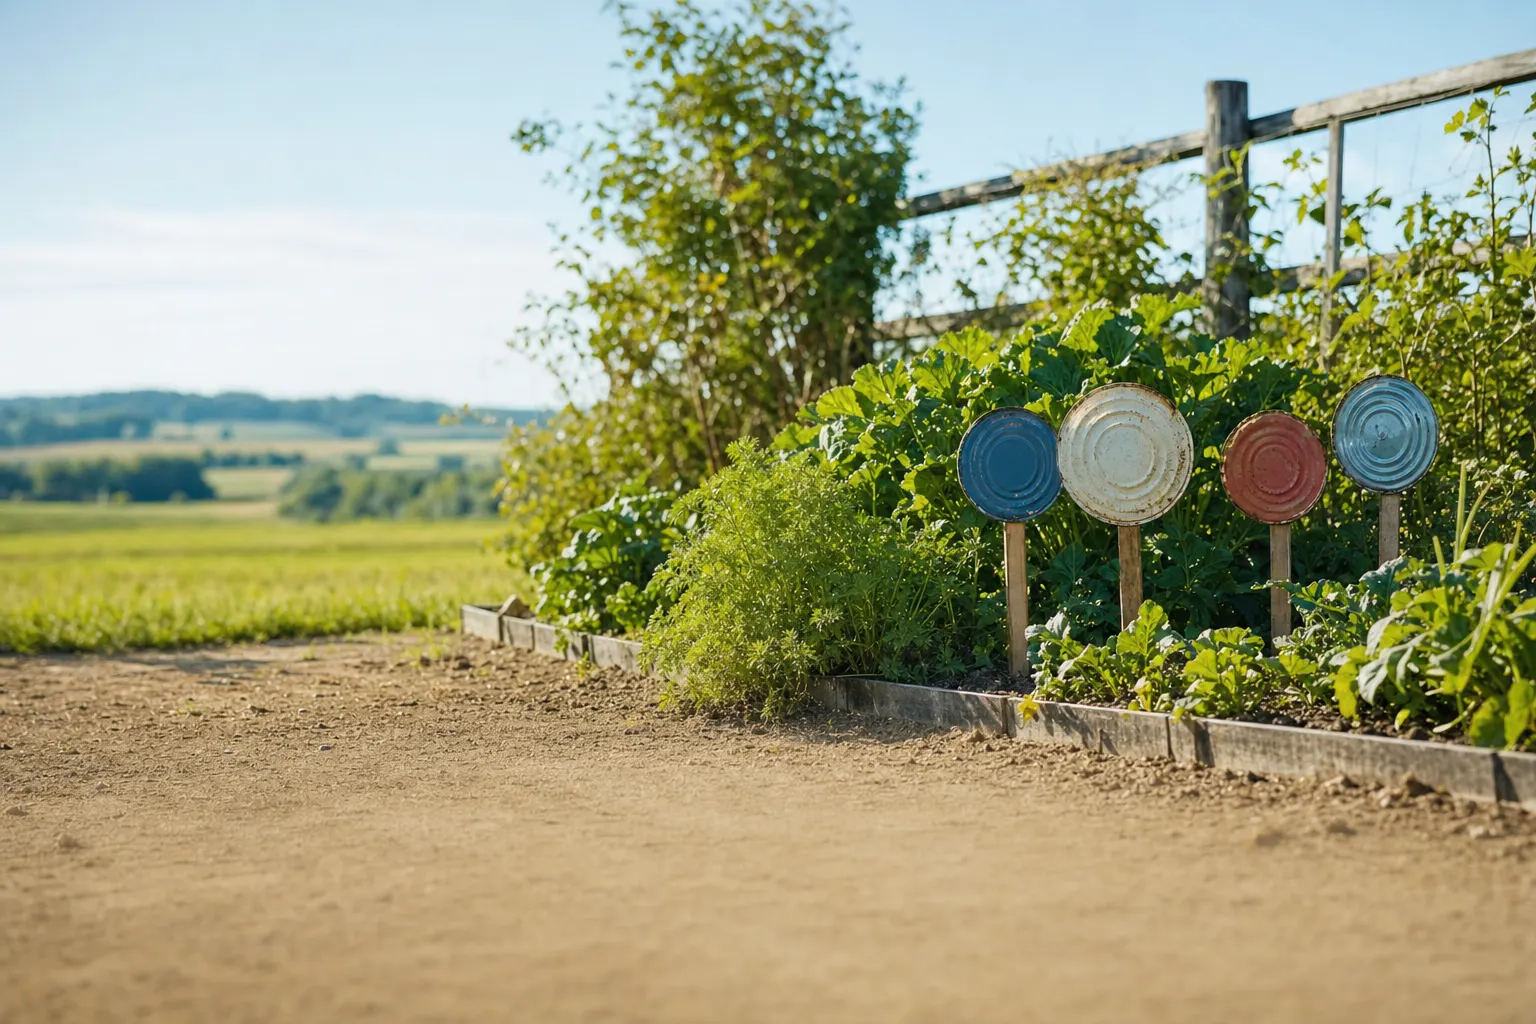
Old tin can lids don’t have to go in the trash—they can become functional and delightful signs for your garden beds. With just a bit of DIY, these reused lids help you keep track of flowers, vegetables, or herbs, especially useful when you’re managing several rows or expanding your crops season-to-season. If you’re in a rural area or on a larger property, resourceful solutions like this can make routine gardening simpler and more enjoyable. Here’s how to make your own, and why tin can lid signs are more than just cute—they’re practical for rural gardeners too.
What Makes Tin Can Lid Garden Signs Useful?
Gardeners frequently need to label rows or individual plants, especially if sowing multiple varieties or experimenting with seeds. Store-bought markers can be expensive, short-lived, and often look out of place outdoors. Tin can lids are virtually weather-resistant, sturdy, and easy to customize with a marker or paint. With some creativity, you can make each label as plain or decorative as you like.
For rural gardeners—whether you’re on a farm or have a large home plot—these DIY signs can stretch across a big space without breaking the bank, making it much easier to keep track of what (and where) you’ve planted.
Step-By-Step: How to Make Garden Signs from Tin Can Lids
1. Gather Materials
- Clean tin can lids (from soup, coffee, veggies, etc.) — ensure sharp edges are filed down or taped for safety
- Permanent markers or outdoor paint pens
- Wire, twine, or old plant stakes for mounting
- Hammer and thick nail or small hand drill (to make a hole)
- Optional: Clear outdoor sealer to extend the life of your writing/decoration
2. Prepare the Lids
- Wash and dry each lid thoroughly.
- Carefully file any sharp edges with a metal file or cover them with sturdy tape for safety.
- Use a hammer and nail, or a hand drill, to make a small hole near one edge for mounting. If you intend to hang them like tags, make the hole at the top. For stake mounting, place it just off-center.
3. Label and Decorate
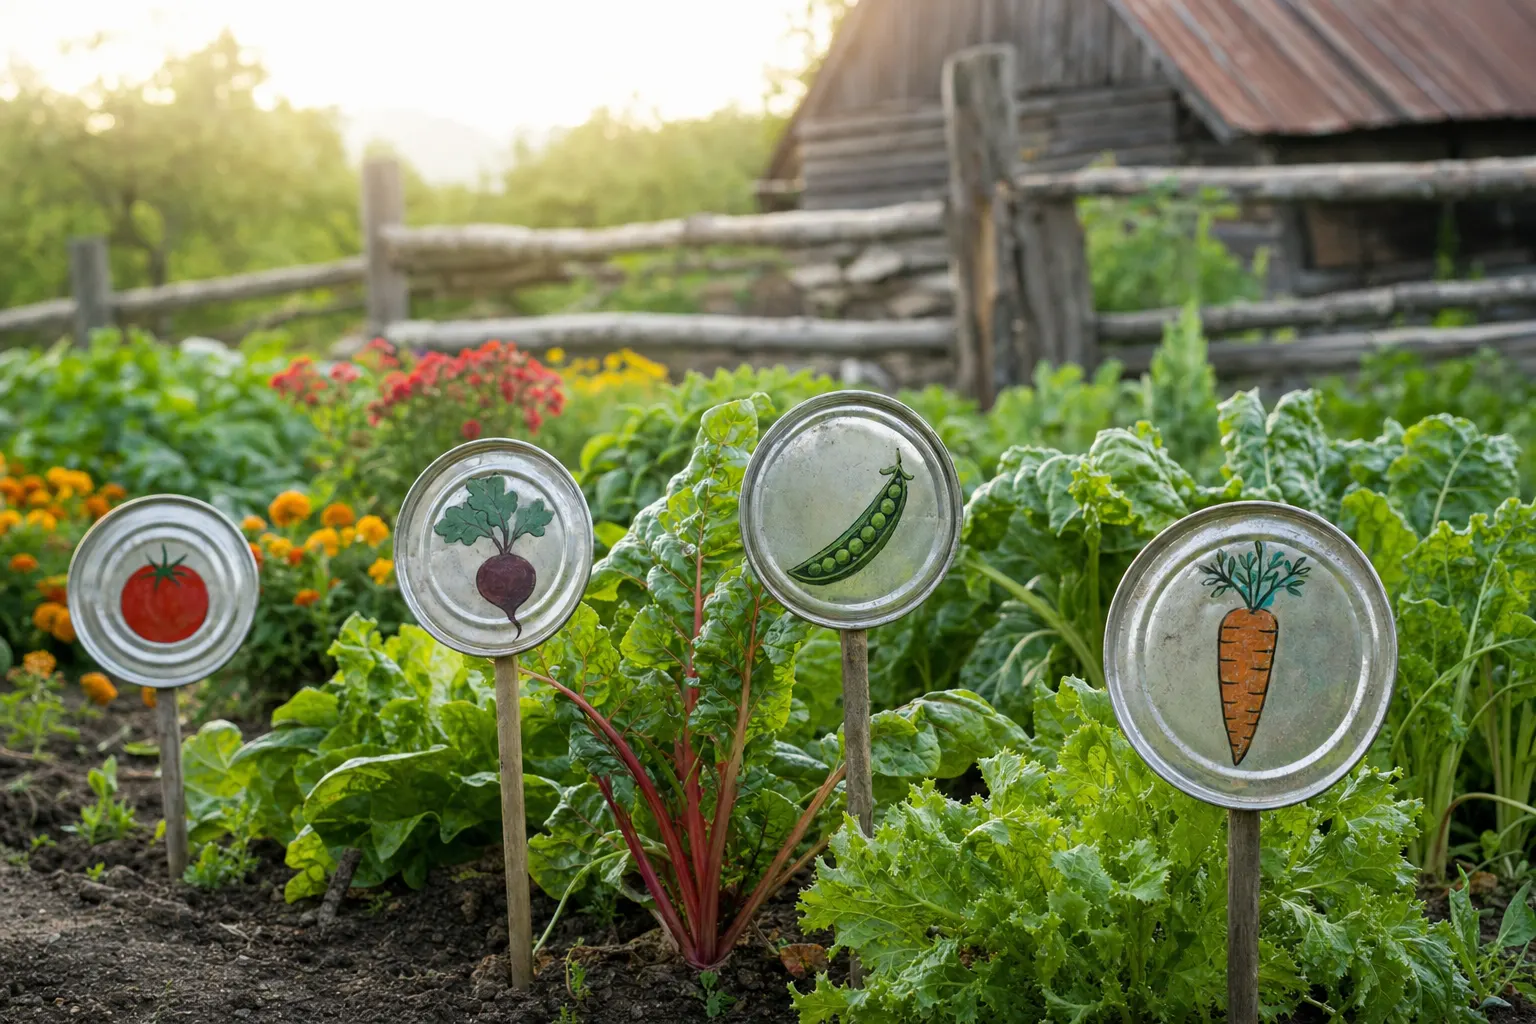
- Use a permanent marker or outdoor paint pen to write the plant name, year, or variety clearly on the lid. If you want to get artistic, add a border, leaf, or flower design.
- For extra durability, spray or paint over the writing with a clear outdoor sealer and let dry fully.
4. Attach to a Stake or Hang
- Run wire or twine through the hole and tie to a plant stake (wooden dowels, old forks, or bamboo work well).
- For fence or trellis mounting, use the hole to hang the lid directly from a hook or zip-tie it in place.
Tips for Rural and Large-Scale Gardens
- Batch ahead: Collect and prep dozens of lids at once—label them for all your planned crops before spring planting.
- Color code: Use different paint marker colors or designs for crop families (green for salad greens, red for tomatoes, etc.) to make scanning wide rows easier.
- Weather test: In climates with harsh sun or rain, clear-coat all your signs so they last through the season.
- Keep a log: Snap a quick photo of each sign in place so you have a digital map—helpful if high winds ever knock stakes loose.
- Re-label easily: If you rotate crops, just wipe or paint over old writing and reuse the same lid next year.
Why Choose This Upcycle Over Store-Bought Alternatives?
- Cost: All you need are items you likely already have on hand—no extra spending required.
- Durability: Metal lids withstand the elements much longer than most wooden or plastic store-bought markers.
- Creativity: Custom designs reflect your personality or theme, making the garden feel truly yours.
- Sustainability: You keep metal out of the landfill and reduce single-use plastic waste at the same time.
If you want more details on crafting these signs, or examples of completed projects, the original trend was recently covered and discussed at Hunker.
Closing Note: Reliable Rural Internet Helps With DIY Project Planning
If you’re gardening on rural land, reliable internet access can be a challenge—and finding inspiration or sharing your DIY results often starts online. For those needing up to 500 Mbps (speeds vary by location) and plans with unlimited data (subject to account review or cancellation for high usage or misuse), Blazing Hog offers a 30-Day Free Trial so you can test the service where it counts.
Before starting any project involving digging or modifications, remember to check all area rules for safety and permitting, as requirements differ by location. Service is not intended for medical monitoring, unmanned vehicle control, or life-safety uses.
Rules vary by location: check with your state and local authorities about the permits and regulations required for this work before you start.
Source: Don't Toss Tin Can Lids: Turn Them Into Adorable Garden Signs (Hunker: Inspired Home Design, Gardening Tips, and DIY Improvements, November 8, 2026)