
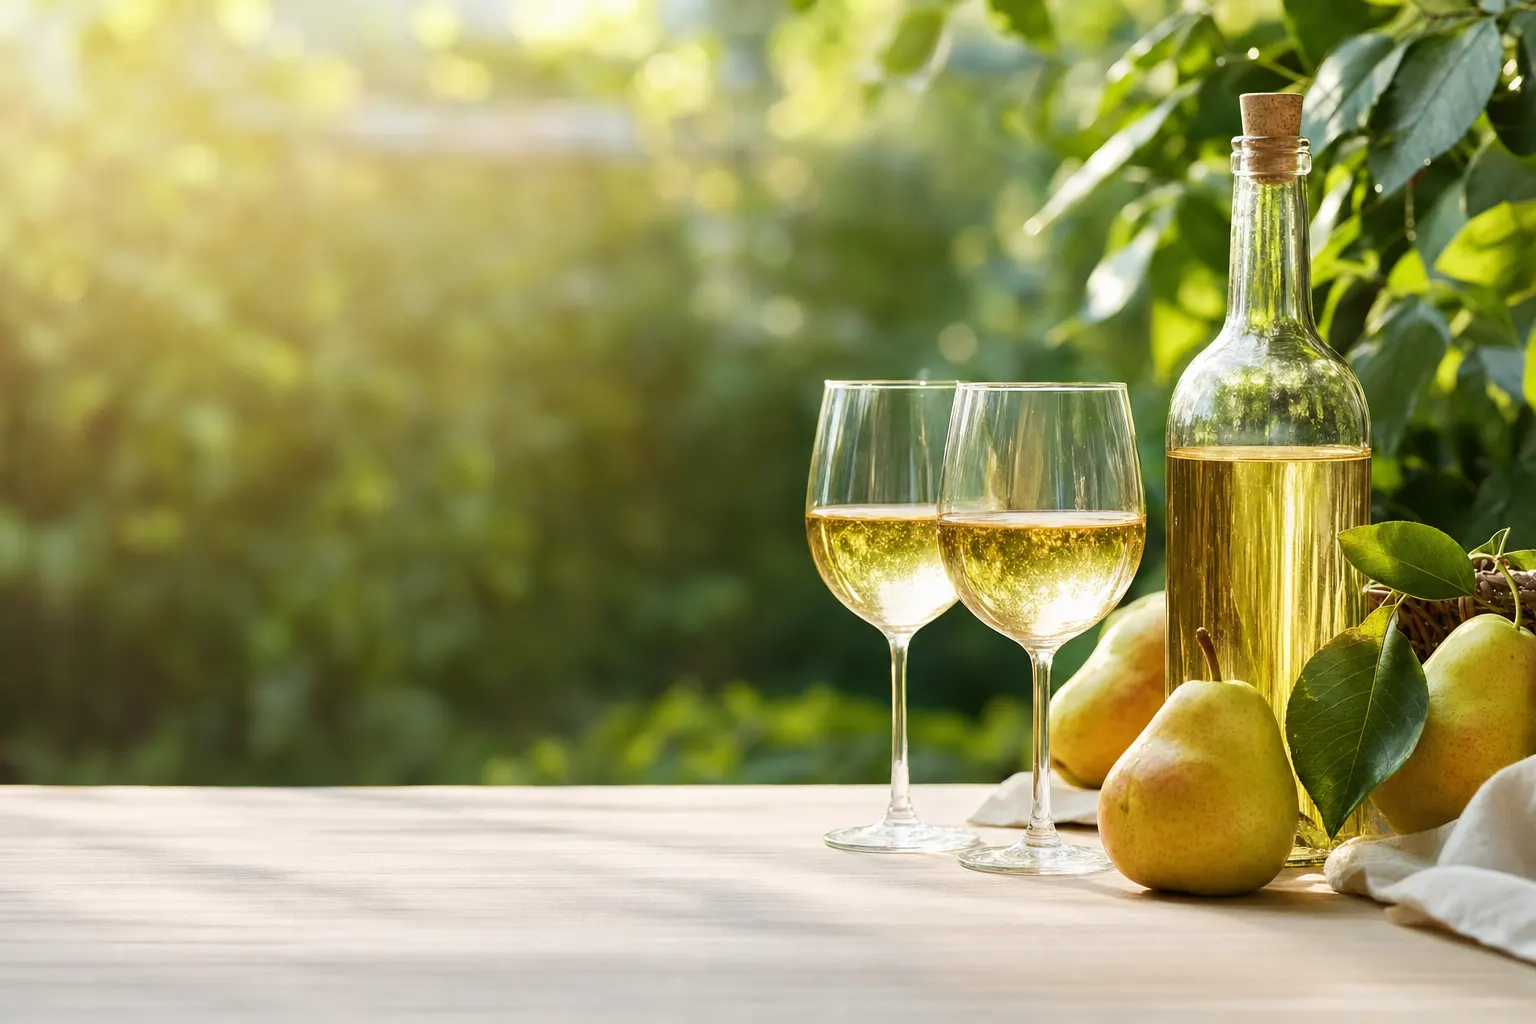
Making pear wine at home is entirely possible with just a few everyday kitchen supplies, ripe pears, and staple pantry ingredients. According to Common Sense Home, you don’t need specialized or expensive equipment—only a large crock or food-safe bucket, fruit, and standard wine yeast[1]. In this guide, we break down the process point-by-point so rural and beginner winemakers alike can craft a flavorful country wine, even in remote areas without easy access to urban brewing stores or resources.
What Makes Pear Wine Appealing for Home Winemakers?
Pear wine is valued for its gentle fruit character, easy drinking quality, and flexibility—it can be made in small or large batches, depending on how much excess fruit you have. The tradition of making wine from orchard fruit like pears is particularly strong in rural regions, where home growers and neighbors often share or trade surplus produce each season. For instance, in apple- or pear-growing areas, backyard orchards frequently leave families with more fruit than they can eat fresh. Turning that bounty into wine helps reduce waste and create something memorable to enjoy months later.
Ingredients Required (According to the Source)
Common Sense Home’s recipe focuses on ease and accessibility. Here’s what you’ll need[1]:
- Ripe pears
- Golden or regular raisins
- Sugar
- Wine yeast
- Water
No stabilizers, enzymes, or fining agents are required in this method, making it approachable for first-time winemakers. The ingredient amounts can be adjusted to fit the size of your batch or the amount of fruit on hand.
Step-by-Step Pear Wine Method
Based on Common Sense Home’s process, here’s how you make pear wine at home[1]:
- Prepare the Fruit: Wash, core, and chop the pears. Use sound, ripe fruit for best results. There’s no need to peel the pears; use the whole fruit minus seeds and cores.
- Mash and Combine: Place the chopped pears into a large crock or bucket, and lightly mash to release juices. Add raisins and sugar (the quantity is listed on the source page for your batch size).
- Add Water: Pour cool, non-chlorinated water over the fruit and sugar mixture. Mix until the sugar dissolves.
- Add Yeast: Sprinkle wine yeast on top of the mixture. Do not use bread yeast for wine—use a proper winemaking yeast for best flavor and fermentation control.
- Initial Fermentation: Cover the crock loosely so gases can escape. Allow this mixture to ferment at room temperature (ideally around 65–75°F). Stir daily for a few days to promote even fermentation.
- Strain and Secondary Ferment: After roughly one week (when bubbling slows), strain the solids from the juice. Transfer the liquid to a clean fermentation vessel with an airlock (such as a glass jug or fermenter) to continue fermenting out of direct air. Fermentation times can vary, but may take several more weeks to fully complete.
- Bottle and Age: Once fermentation finishes and the wine becomes clear (no longer bubbling), bottle the wine. Age it at least several months; homemade pear wine often benefits from a year of aging for flavor development.
For precise amounts, recommended yeast strains, and troubleshooting tips, refer directly to the detailed instructions on Common Sense Home’s page[1].
Necessary Equipment and Where to Find It
You can begin with kitchen basics:
- Large, food-grade crock, bucket, or fermenter (ensure it’s non-reactive and sanitized)
- Mesh strainer or cheesecloth
- Sanitized bottles and corks
- Siphoning tube (helps with bottling)
- Airlock for secondary fermentation (can be ordered online or found at local brewing stores)
None of these items are hard to find. Even rural supply stores may carry canning and brewing basics; otherwise, reputable retailers online stock home fermentation gear.
Troubleshooting and Safety
- Always sanitize all vessels, tools, and bottles carefully to avoid contamination.
- If your pears are very sweet or tart, adjust sugar and water balance accordingly as outlined in your source recipe.
- Follow yeast package instructions to ensure a healthy fermentation.
- If vinegar-like odors or film appear, discard the batch to avoid consuming spoiled wine.
Storing and Sharing Homemade Pear Wine
Once bottled, store wine in a cool, dark place. Homemade country wines are perfect for sharing with friends or family at gatherings, gifting, or simply enjoying the fruits of your harvest through winter. Pear wine often mellows and improves after a year or more in the bottle.
Product Tie-Back: Staying Connected While You Learn New Skills
A reliable rural internet connection makes it easier to share homemade wine recipes, video chat with mentors, or join online communities. If you need high-speed service in rural areas, Blazing Hog’s Air Fiber plans offer up to 500 Mbps (subject to availability at your address and subscriber agreement; unusually high usage may result in review or account action—see terms). Speeds vary by location and usage. Always verify availability, speeds, and terms for your specific address.
This work often requires extra research or access to local information; always check with your regional authorities about any permits or requirements before undertaking home fermentation projects.
Rules vary by location: check with your state and local authorities about the permits and regulations required for this work before you start.
Source: How to Make Pear Wine – Easy Homemade Recipe (Common Sense Home, November 8, 2026)