
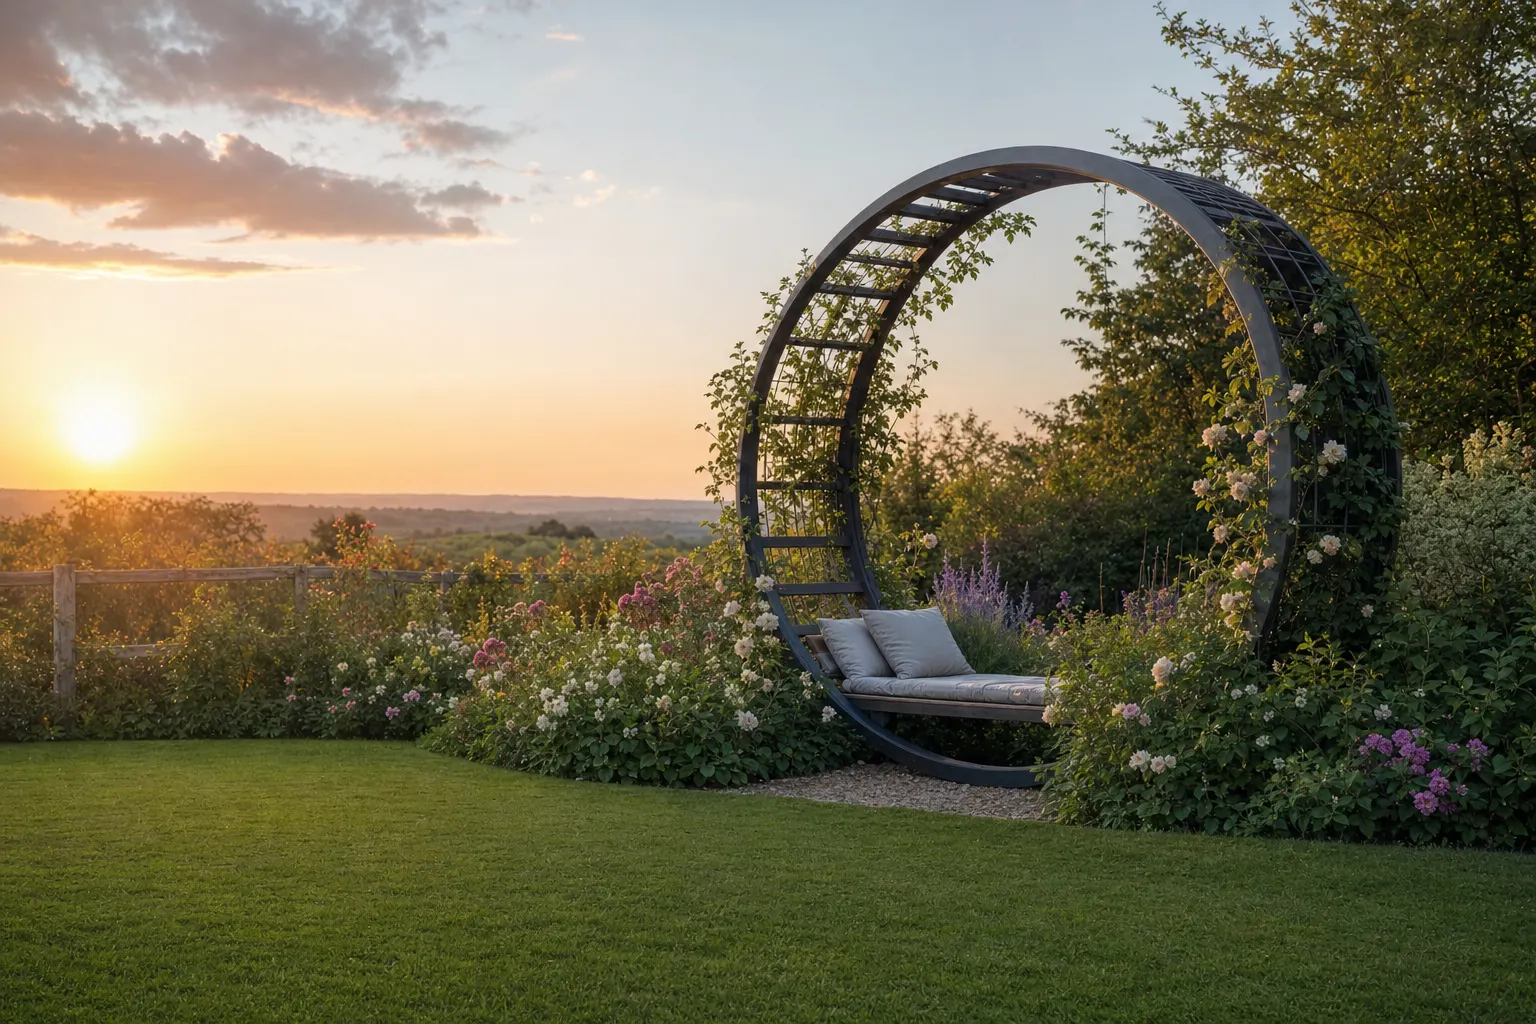
A recent story reported by Hunker highlights a creative gardener who used common Home Depot supplies and natural materials to build a standout garden feature—a DIY moon arch—transforming ordinary objects and dead branches into a showpiece. This poses a timely question for rural homeowners: What does it take to bring ambitious, stylish DIY projects to life when big city resources are far away? This article breaks down the practical, step-by-step decisions rural gardeners face, and how to adapt urban-inspired projects to the realities of rural settings.
Starting With the Concept: Adapting Urban Inspiration for Rural Projects
The reported project shows how a gardener combined hardware store basics—readily available materials—and natural resources found in her yard to construct a custom garden moon arch. Her approach offers a roadmap for any rural homeowner tempted to bring creative social media ideas home.
Assessing Materials On Hand
- Survey what you already have: Rural properties may offer branches, rocks, reclaimed lumber—assets city dwellers often buy.
- Inventory your tools: Success depends on what tools are available, as driving for specialty equipment can eat up time and cost.
- Hardware store accessibility: Plan your list carefully. If your nearest Home Depot or local supply is an hour away, consolidate trips, and double-check quantities and sizes before leaving.
Making a Materials Plan
Before attempting a moon arch—or any prominent DIY feature—break your shopping and gathering into categories:
| Source | Example Materials |
|---|---|
| Hardware Store | Rebar, brackets, screws, paint |
| Yard/Property | Branches, logs, fieldstone |
| Neighborhood | Salvaged wire, leftover fencing |
- Sketch your design: Knowing exact lengths, bends, and supports you need reduces waste and return trips.
- Research project variants: Search for moon arch DIYs, arbors, or natural branch structures online—look for instructions that match your available materials and local conditions.
Building in a Rural Setting: Process, Pitfalls, and Solutions
Stability First
Structural stability matters, especially in areas exposed to wind or wildlife. Anchoring a moon arch (or similar feature) in the garden usually means:
- Digging stable post holes below the frost line using available post-hole diggers or augers. If your location is rocky or root-laden, plan extra time.
- Using sturdy supports: If the original project calls for rebar or metal poles as a main frame, ensure yours is rated for outdoor use and long enough to anchor solidly.
- Fixing with brackets or strong wire: Secure joints with weather-resistant hardware, not just decorative rope or non-outdoor materials. In a pinch, zip ties (UV stable) can be a quick solution, but check durability for your climate.
Weather and Wildlife
- If you live where deer, raccoons, or livestock are nearby, expect tampering. Use paint or sealer safe for gardens if you want to preserve wood or branches from rot and weather.
- Choose construction days for when you have two clear days—rain and mud can seriously delay set and stability of outdoor concrete or anchors.
Repurposing Local Resources
- Rural properties often have surplus: fencing wire, leftover livestock panels, or orchard stakes can become key components.
- Consider swapping planned store-bought wood for property-cleared deadfall, but inspect each branch or log for signs of pests or decay before use.
Internet & Reference Materials
- In rural areas, reliable internet may not reach every corner of your yard. Download diagrams and supply lists in advance if you won’t have an internet signal outside during your build.
Steps for Building a DIY Moon Arch (or Similar Garden Feature)
- Design & Measure: Decide on height/width. A typical moon arch is 6-8 feet high; use rope on the ground to lay out the curve before cutting.
- Source Materials: Pick up sturdy supports (e.g., rebar, metal conduit) and fasteners at your preferred store; gather branches or natural elements from your property.
- Prep & Protect: If using fresh-cut branches, let them season first to avoid future warping or shrinkage. Apply weather-seal as needed.
- Build Frame: Anchor support posts or rods in the ground using gravel or quick-setting concrete if available. Double-check vertical alignment at each stage.
- Attach Decorative Elements: Lay and affix branches or wood pieces in the designed pattern, overlapping for strength. Secure joints according to your climate (galvanized screws, outdoor-rated twine, or wire).
- Finishing Touches: Sand rough points, touch up paint/seal if used, and inspect for stability. Ensure there are no sharp wires or splinters, especially if children are present.
Common Challenges in Rural DIY Gardening
- Missing a tool or part: Small hardware items may not be kept in nearby stores. Before beginning, make a complete list, confirming what you’ll source locally versus from a city supplier or online.
- Heavy or oversized materials: If your vehicle is a pickup or farm truck, great—but plan accordingly. Store rental trucks in remote areas may require advance booking.
- Power/charging: If building away from the house, charge all battery-powered tools and consider a portable power bank. A project can stall for hours while waiting on a needed charge.
- Online reference access: If your Wi-Fi is weak in a barn or field, print instructions and diagrams.
- Project safety: Use gloves, safety glasses, and always check for nearby power or water lines before digging.
Urban vs Rural: Where DIY Really Differs
The story’s original builder enjoyed easy access to hardware store supplies and described using yard-fallen branches for creative effect. Rural DIYers have advantages and extra challenges: while space and raw natural materials are abundant, trips to buy a missing bracket can be hours, not minutes. Knowing how to adapt instructions—using farm fencing rather than store-bought lattice, or leveraging a neighbor’s tool—can mean the difference between a project realized and one abandoned halfway.
Bringing it All Together: How Blazing Hog Air Fiber Supports Rural DIY Success
A key challenge rural families face when tackling ambitious gardening or building projects is access to up-to-date information and plans. Blazing Hog’s Air Fiber internet—serving rural homes and properties with speeds up to 500 Mbps, truly unlimited data, and simple, wireless installation—enables rural gardeners to stream how-to videos, download supply lists, consult community advice, or troubleshoot build issues right from the field, barn, or garden. Their rural-focused platform keeps households connected while building together, so design changes and new solutions are always just a few clicks away. With technical support based in the USA—real people who know rural life—families stay connected to the knowledge and help they need to turn backyard ambitions into successful projects.
For rural garden builders, being able to research, plan, and adapt in real time is the modern foundation of hands-on success.
Before beginning construction of permanent structures or digging, check with your local authorities regarding permits or codes that may apply in your area. Always call 811 before you dig, and remember: Blazing Hog’s service is not intended for medical monitoring, unmanned vehicle control, or life-safety uses.
Rules vary by location: check with your state and local authorities about the permits and regulations required for this work before you start.
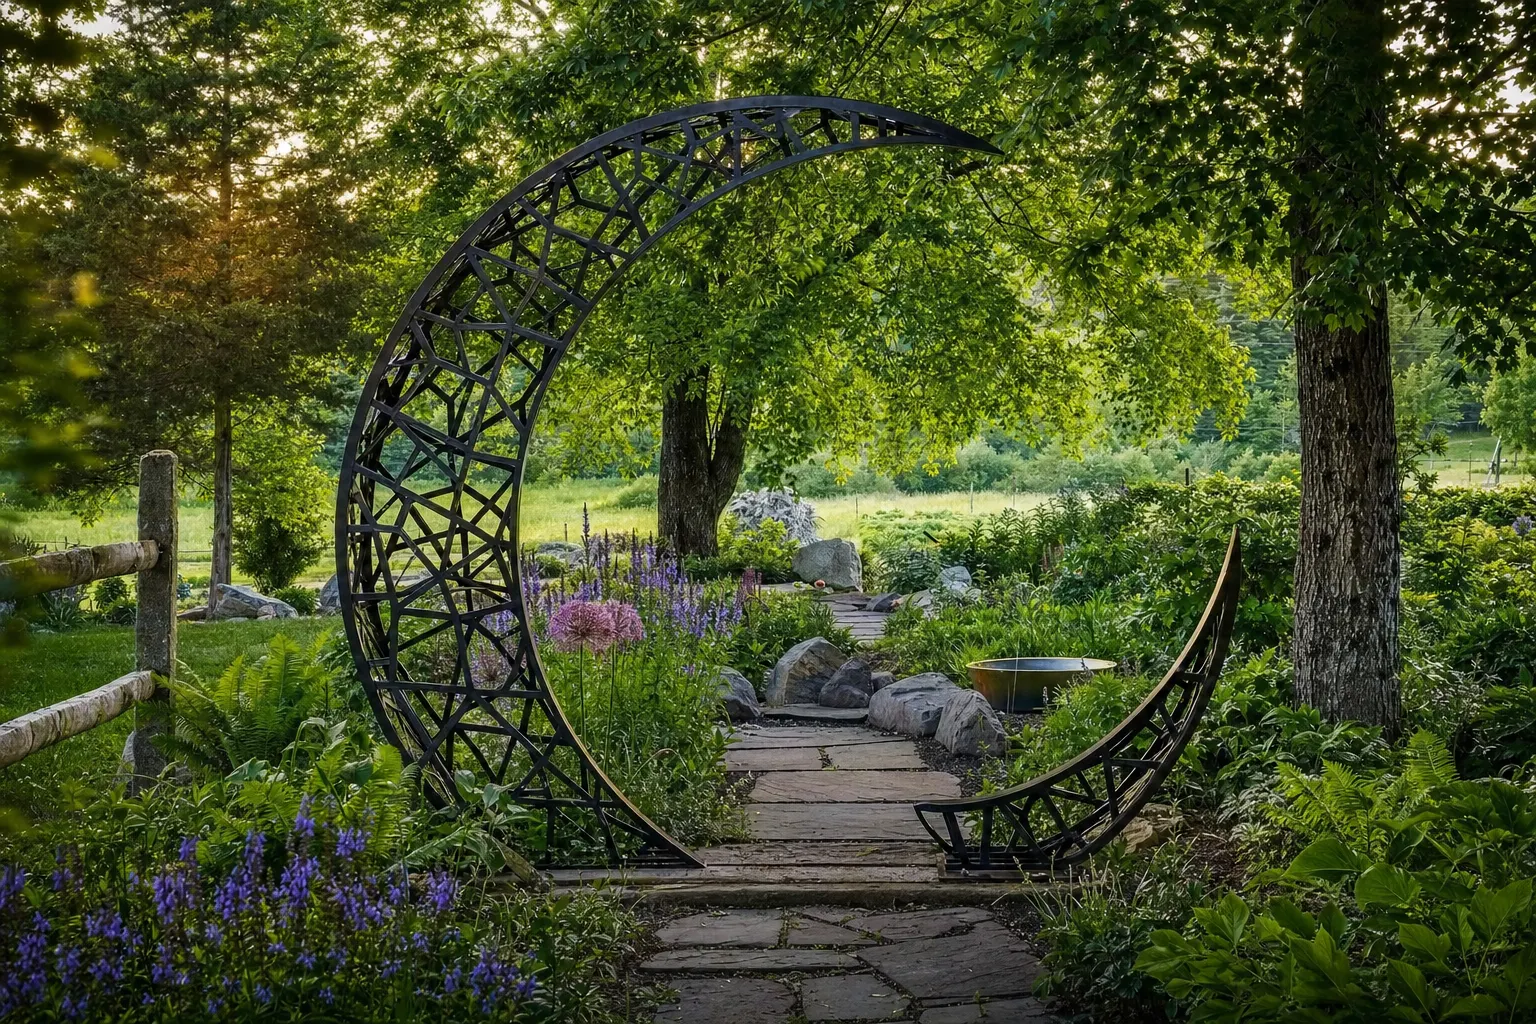
Source: Woman Uses Home Depot Finds To Create A Garden Masterpiece With An Impressive DIY (Hunker: Inspired Home Design, Gardening Tips, and DIY Improvements, October 24, 2026)